How to Sport Climb Outdoors

Let's say you've climbed a bit in the gym or been taken outdoors by a more experienced climber and you want to learn how to climb outdoors. I'll connect together the techniques and tips, that with practice and some supervision should allow you to eventually confidently climb outdoors. The American Mountain Guides Association (AMGA) will be the core source for the information here, since they're the leading experts on climbing safety.
The goal of climbing outdoors is to have fun. Getting hurt isn't fun, so our secondary goal is to stay safe, and since spending time preparing to climb isn't fun our third goal is to be efficient.
First off, why not top rope? In top roping you build an anchor at the top of the climb and send both ends of the rope down to the base of the cliff where the belayer and climber can each use a strand. The benefit is of course that you don't have to learn how to lead sport climbs, and the climbing falls are only a couple feet maximum.
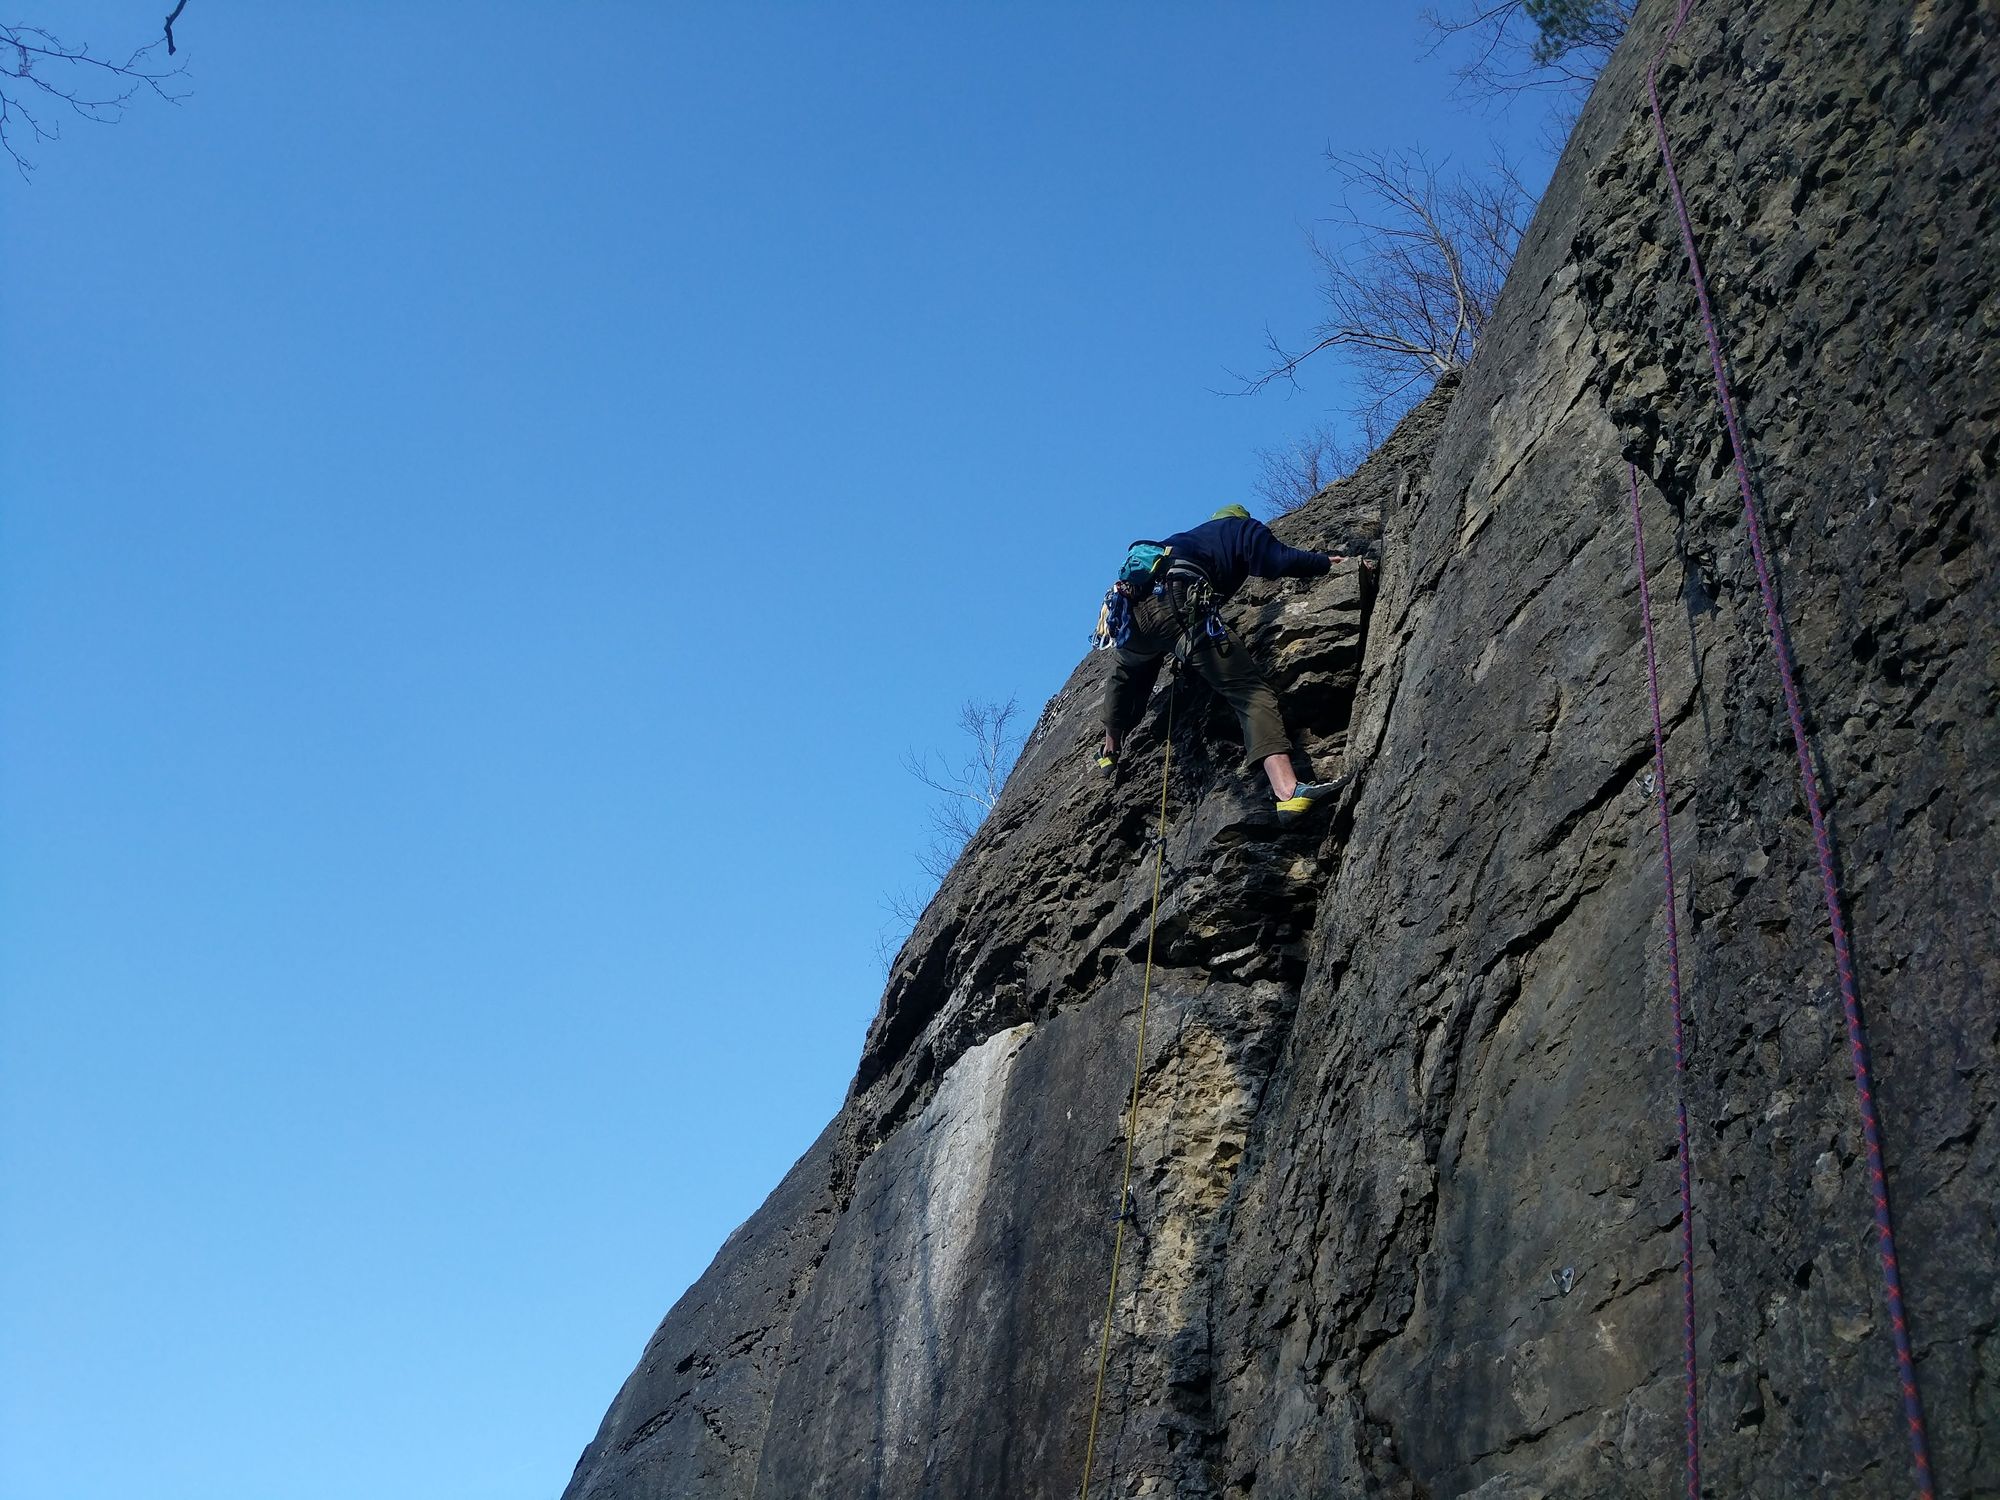
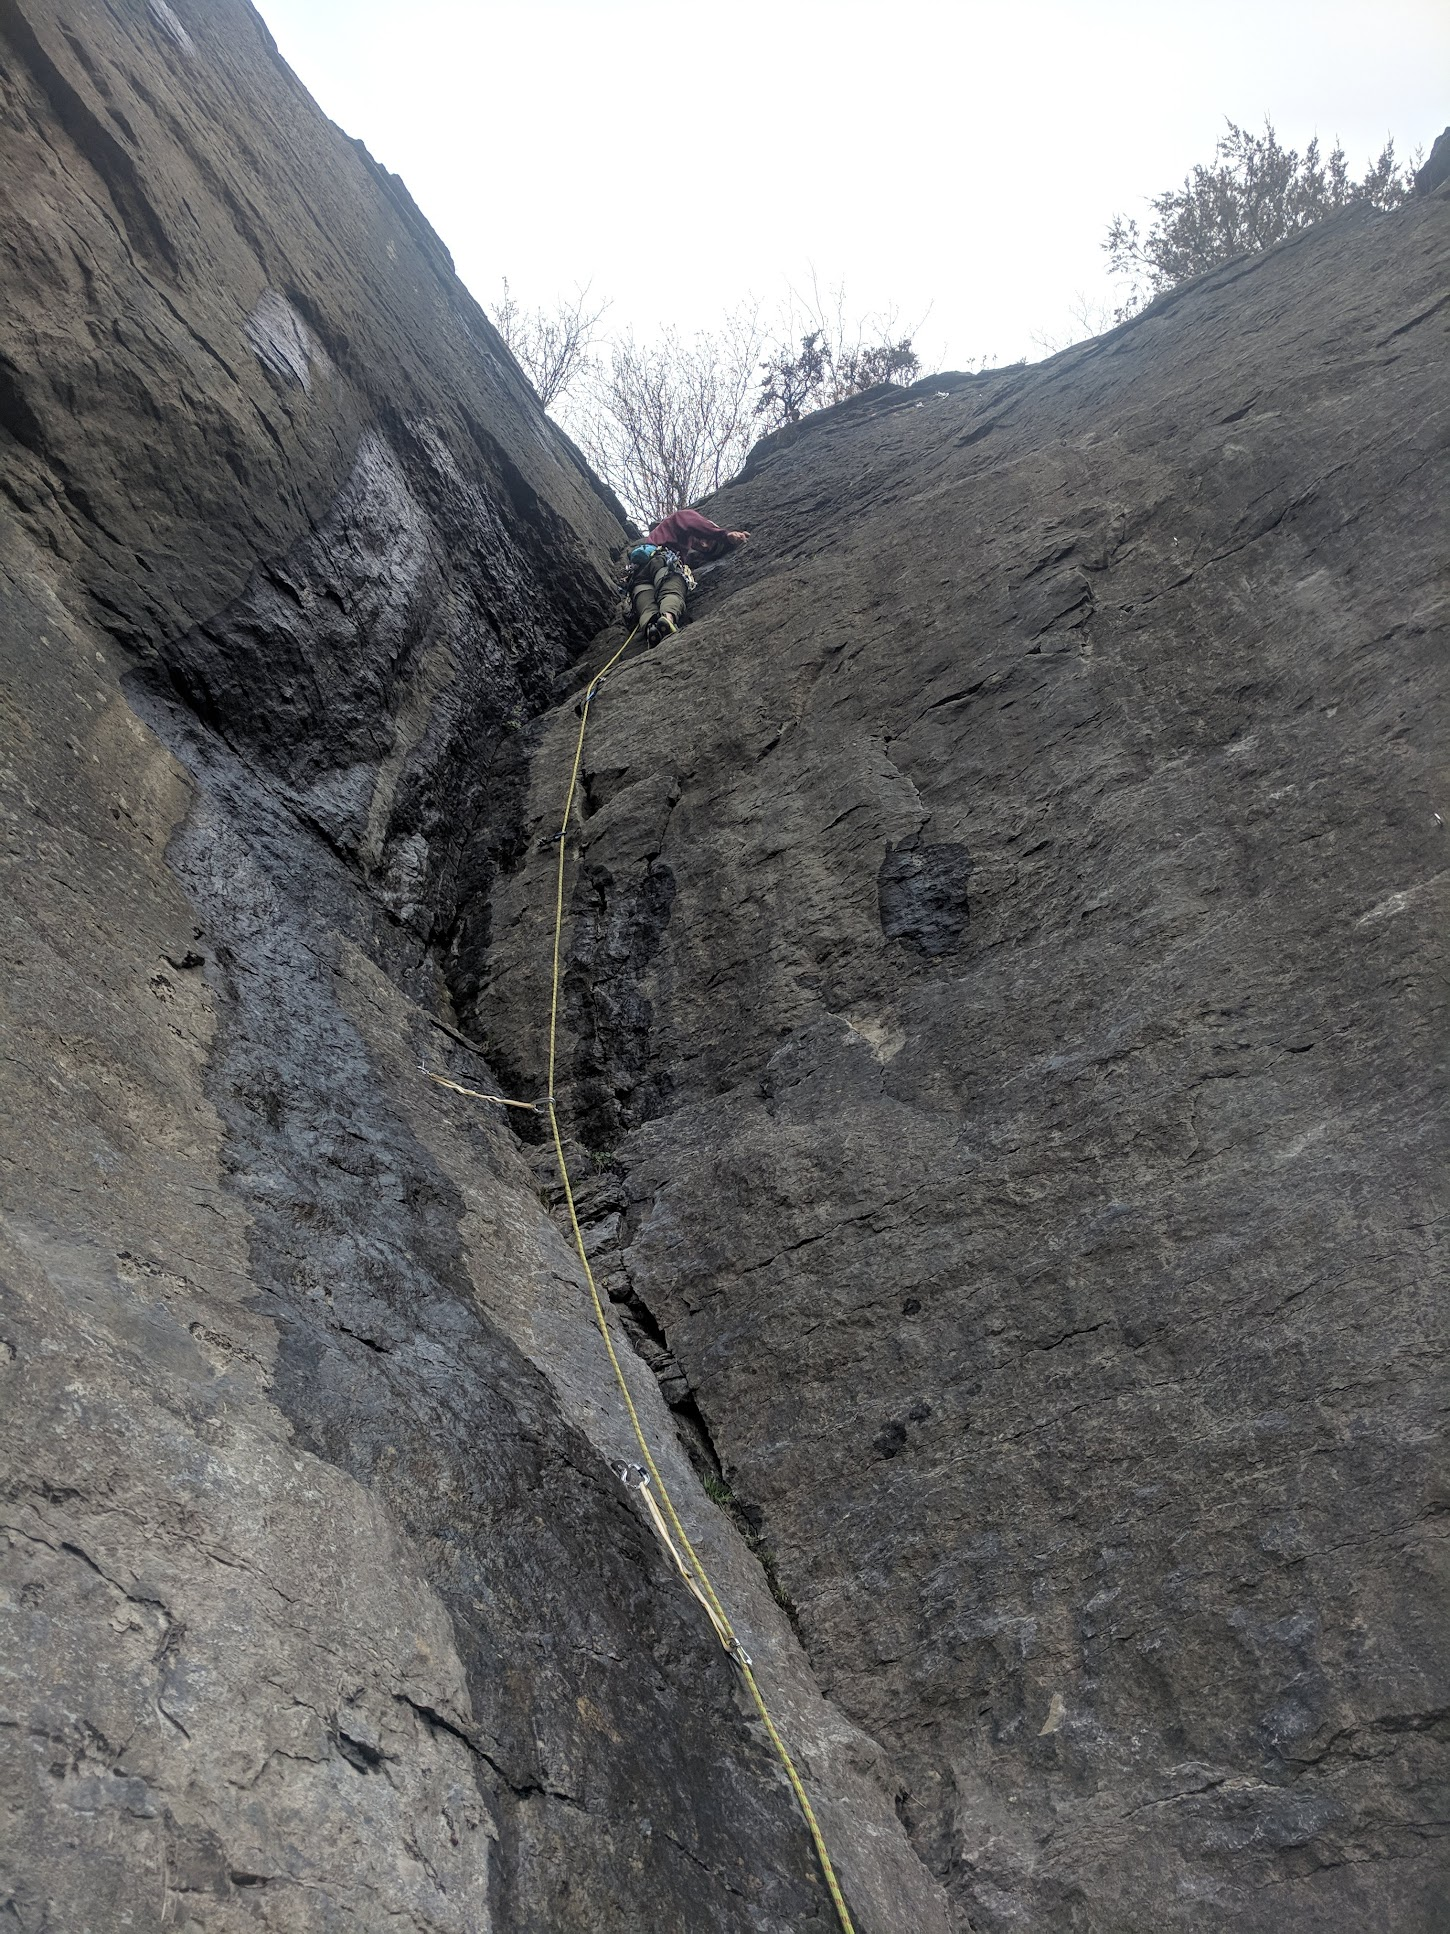
My problem with top roping is that part about building an anchor at the top of the climb. That means that you need a safe way to get to the top of a less than half your rope length cliff, and somehow rig up the top rope anchor so that your rope doesn't rub on the cliff edge and you don't fall off while doing that. In most real-life scenarios this is a risky plan, since it involves you essentially down-climbing un-roped to the anchor spot. It's a pickle, your rope shouldn't rub across the edge of the cliff because you don't want that abrasion to cut the rope, and you don't want to go below the edge of the cliff holding your rope because there's nothing to catch you if you slip. The best way to do it is to use a second rope to secure yourself to a second anchor away from the dangerous edge of the cliff while you rig your climbing rope, but the layout of the crag might not make that feasible. In the photo above we were climbing at Goat Rock, which didn't have any trees or other anchors to secure myself to while I climbed over to the top rope anchor point.

Sometimes the protection on the intended climb is too dangerous to lead climb from the bottom, so you're forced to setup a top rope, like that route on Goat Rock that had very few rusty loose bolts, or the above ice climb (see Will Gadd on How not to fall off ice climbing). My point is though: don't think top-roping is the easiest way to start climbing outdoors.
Anchors
With that rant out of the way, whether you're setting up a top rope or you've lead to the top by climbing from the ground, you'll need to setup an anchor. An anchor's job is to be a bomber point to connect climbers and their gear to the wall. You can clip and belay people directly into and off of the anchor which is useful for multi-pitching, or you can belay people indirectly off the anchor for top roping. For this post, let's discuss only two bolt anchor setups. For more information on a broader range of anchor techniques, I recommend the book Rock Climbing Anchors: A Comprehensive Guide by AMGA certified guide Craig Luebben, it's published by The Mountaineers here in Seattle, is as comprehensive as the title suggests, but is concisely written and well illustrated. It's currently the textbook on this topic.
For a two bolt anchor setup, you'll need to combine the two bolts in a way that creates a "master point" where people and ropes can be clipped into. AMGA guide Elaina Arenz demonstrates the safest and most efficient ways to setup an anchor on two bolts in this video:
Some additional clarifications:
- First, before building the achor, evaluate the rock quality and bolt quality. Is the rock a loose block? Are the bolts rusted, loose, or halfway out of the wall? If you aren't happy with the quality of the anchor bolts, back it up with traditional gear if you have some, or downclimb back to the ground or your last safe bolt, climb to a piece of natural protection such as a tree or boulder that you can sling, or climb sideways to a visible anchor of another route. This is uncommon on modern sport routes, but possible in old, underdeveloped, or rarely climbed areas. You might see empty bolt holes or bolts cut flush to the rock, or with no hangers. This act of doing this is called "chopping bolts" and people who don't like sport climbing do it usually when they believe that the climb can/should be done using traditional gear instead of sport gear.
- We don't want the friction of a moving top rope across fixed hardware such as chains, rappel rings, pig tails, mussy hooks, etc, since that wears them out faster and we want to them to last for everyone to use. Such is Leave No Trace philosophy.
- You might wonder why we don't simply clip a locking carabiner into each bolt hanger and clip the rope directly into those. The effect of doing that is that the rope will pull the two carabiners towards each other, which creates a wide V shape between the bolts and the point that the rope runs through. This V shape actually amplifies the forces on the bolts (which I was astonished by the first time I heard about it), because the downward force of your weight falling on the anchor is added to the sideways forces of the bolts pulling towards each other. Therefore in order to limit the forces on the bolts, we want a low "V-angle" as Rock Climbing Anchors calls it, generally no more than 90 degrees. In order to decrease the angle, we have to increase the length of the "legs" of the anchor between the bolts and the master point, which the above video demonstrates techniques for.
- We don't want any part of the anchor or rope to be rubbing against the rock, since loaded climbing ropes are surprisingly easy to cut by anything sharp as shown by the detailed oriented YouTube channel Hard Is Easy here: https://youtu.be/dpmUFQhMdbI, and tested by Edelrid here: https://edelrid.com/us-en/knowledge/knowledge-base/cut-resistance-of-ropes. We also don't want a carabiner draped over an edge of rock as shown by the excellent gear testing HowNot2 YouTube channel here: https://youtu.be/buNotkWWLHg.
- Elaina mentioned using a non-locking carabiner in between the two locking carabiners to reduce wear on the non-locking carabiners, but that still adds wear to the system, because most modern carabiners are made of annodized aluminum, which is light, strong, and fun colors. That annodized coating and eventually the aluminum itself will be worn away by the friction of a rope, and those little pieces of metal grit can get worked into the rope, which decreases the rope's lifespan. You can see this effect in a single day of top roping on new carabiners. As we've just discussed, we want to keep our rope clean and healthy, especially since it's a non-redundant point of failure in single-rope systems. The fix to this aluminum problem is to use steel. Old school solid steel carabiners are very heavy though, so my preference is to use aluminum carabiners which have the wear-point in the basket of the carabiner reinforced with a steel insert, which retains the benefits of both lightweight aluminum and strong steel. These carabiners are currently only made by a German company called Edelrid, which calls the steel insert technology "Bulletproof". See Edelrid's article about other forms of carabiner failure: https://edelrid.com/us-en/knowledge/knowledge-base/risks-and-dangers-while-handling-carabiners.
Tieing In & Safety Check
Ok, so whether you're going to top rope or lead climb, you have to attach yourself to the rope. The safest way to tie into the rope is using a "figure eight follow through" knot, because it doesn't decrease the breaking strength of the rope too much (approx reduction of 25%, see Knots 101 by The Mountaineers), and it can be easy to untie after it's been fallen on, if "dressed properly". The most complete guide to tieing in is by Hard Is Easy:
Also see his video on why only when properly dressed the figure 8 is easy to untie: https://youtu.be/QAr-uHd8h8o. Note that no matter how a properly tied figure 8 is dressed, it's still safe to use, but it's just easier to untie when properly dressed.
After you've tied in, but before you start climbing, you'll need to do a saftey check with your belayer. Many accidents have happened from people forgetting a step in climbing preparation and not checking everything. I like to start on the belayer's side for a saftey check, and always have both people check the entire system. One way to remeber to check the whole system is to follow the rope through the system and check all the points that the rope interacts with other parts. Starting on the belayer's tail of the rope, make sure that there's a stopper knot so that you don't get lowered off the end of the rope (like what happened to Alex Honnold). Then check that the rope is "flaked" so that it was checked to not have any cuts, flat spots, knots, or tangles in it. Also make sure that the rope was flaked onto a tarp or clean rock, so that it doesn't get dirt and dust in the rope, which can wear it and all the gear it comes into contact with faster. The rope should be flaked so that the stopper knot is on the bottom and the rest stacked on top up to the belayer, so that it belays out without getting tangled. Then check the belayer's harness, making sure that it's on correctly without being twisted, and that the buckles are double backed. Then check that the belay device is properly locked to the belay loop of the harness, and that the rope is correctly through the belay device. You can do this by yanking on the climber's side of the rope running through the belay device to make sure that the rope doesn't come out, and that any belaying assists in the belay device lock up when the climber falls. Most belay devices have a climber's side on the top and a belayer's brake hand side on the bottom, check that the rope is threaded correctly through. Check that the gate on the belay carabiner is locked. Check that the belayer is wearing a helmet and that it's fitted properly. You really don't want your belayer knocked out from rockfall.
Now that you've checked the belayer, continue the check by following the rope, whether that's up to a top rope anchor or to the climber, making sure you don't see any cuts where the white core strands are visible, and that it's not twisted or knotted. Finally do a similar check of the climber's harness and rope tie in. Make sure that the rope is tied into both harness tie in points, also giving a tug is fun. Check the climber's helmet as well. Make sure that the climber has all the gear they need to climb before they leave the ground, which we'll cover for sport climbing now.
For sport climbing, you should check the guidebook for how many bolts are expected, and look up to verify if that's correct from what you can see of the route (if not you might be at the wrong route, or the guidebook doesn't have up-to-date information). I like to bring two more quickdraws than the number of bolts, so that if I drop one or get lost on route, I'm still ok. You can also use the extra two at the top to build an anchor as we discussed. Also bring anchor building material if necessary such as a double length sling and at least two non-locking and two locking carabiners, or locking quickdraws. Also bring personal and rescue gear such as a tether, belay device, and rappel backup such as a Sterling Hollowblock along with the associated locking carabiners for each. I reccomend keeping each rescue device racked with it's own carabiner so that you aren't tempted to use those carabiners for building anchors and then run out of locking carabiners in a rescue scenario. You can bring "alpine draws" to reduce rope drag, which are extendable quickdraws made from two carabiners and a single length sling tripled over, in case the route wanders from side to side. For more complicated styles of climbing there would be a lot more gear, but this is all you need for single pitch sport climbing. Also check in the guidebook the length of the climb, and check to make sure that your rope is long enough that you can be lowered back down.
However you decide to rack your gear onto your harness, make sure that you keep it organized and rack your gear similarly every time, so that you don't have to search for gear on your harness on the wall.
Sport Leading

For lead climbing, you'll have the rope dangling down towards the belayer and clip the rope into pieces of protection in the rock as you climb upwards. When that protection are bolts drilled into the rock face, it's called sport climbing. Wheras if you place removable protection in cracks and rock features it's called traditional or "trad" climbing.
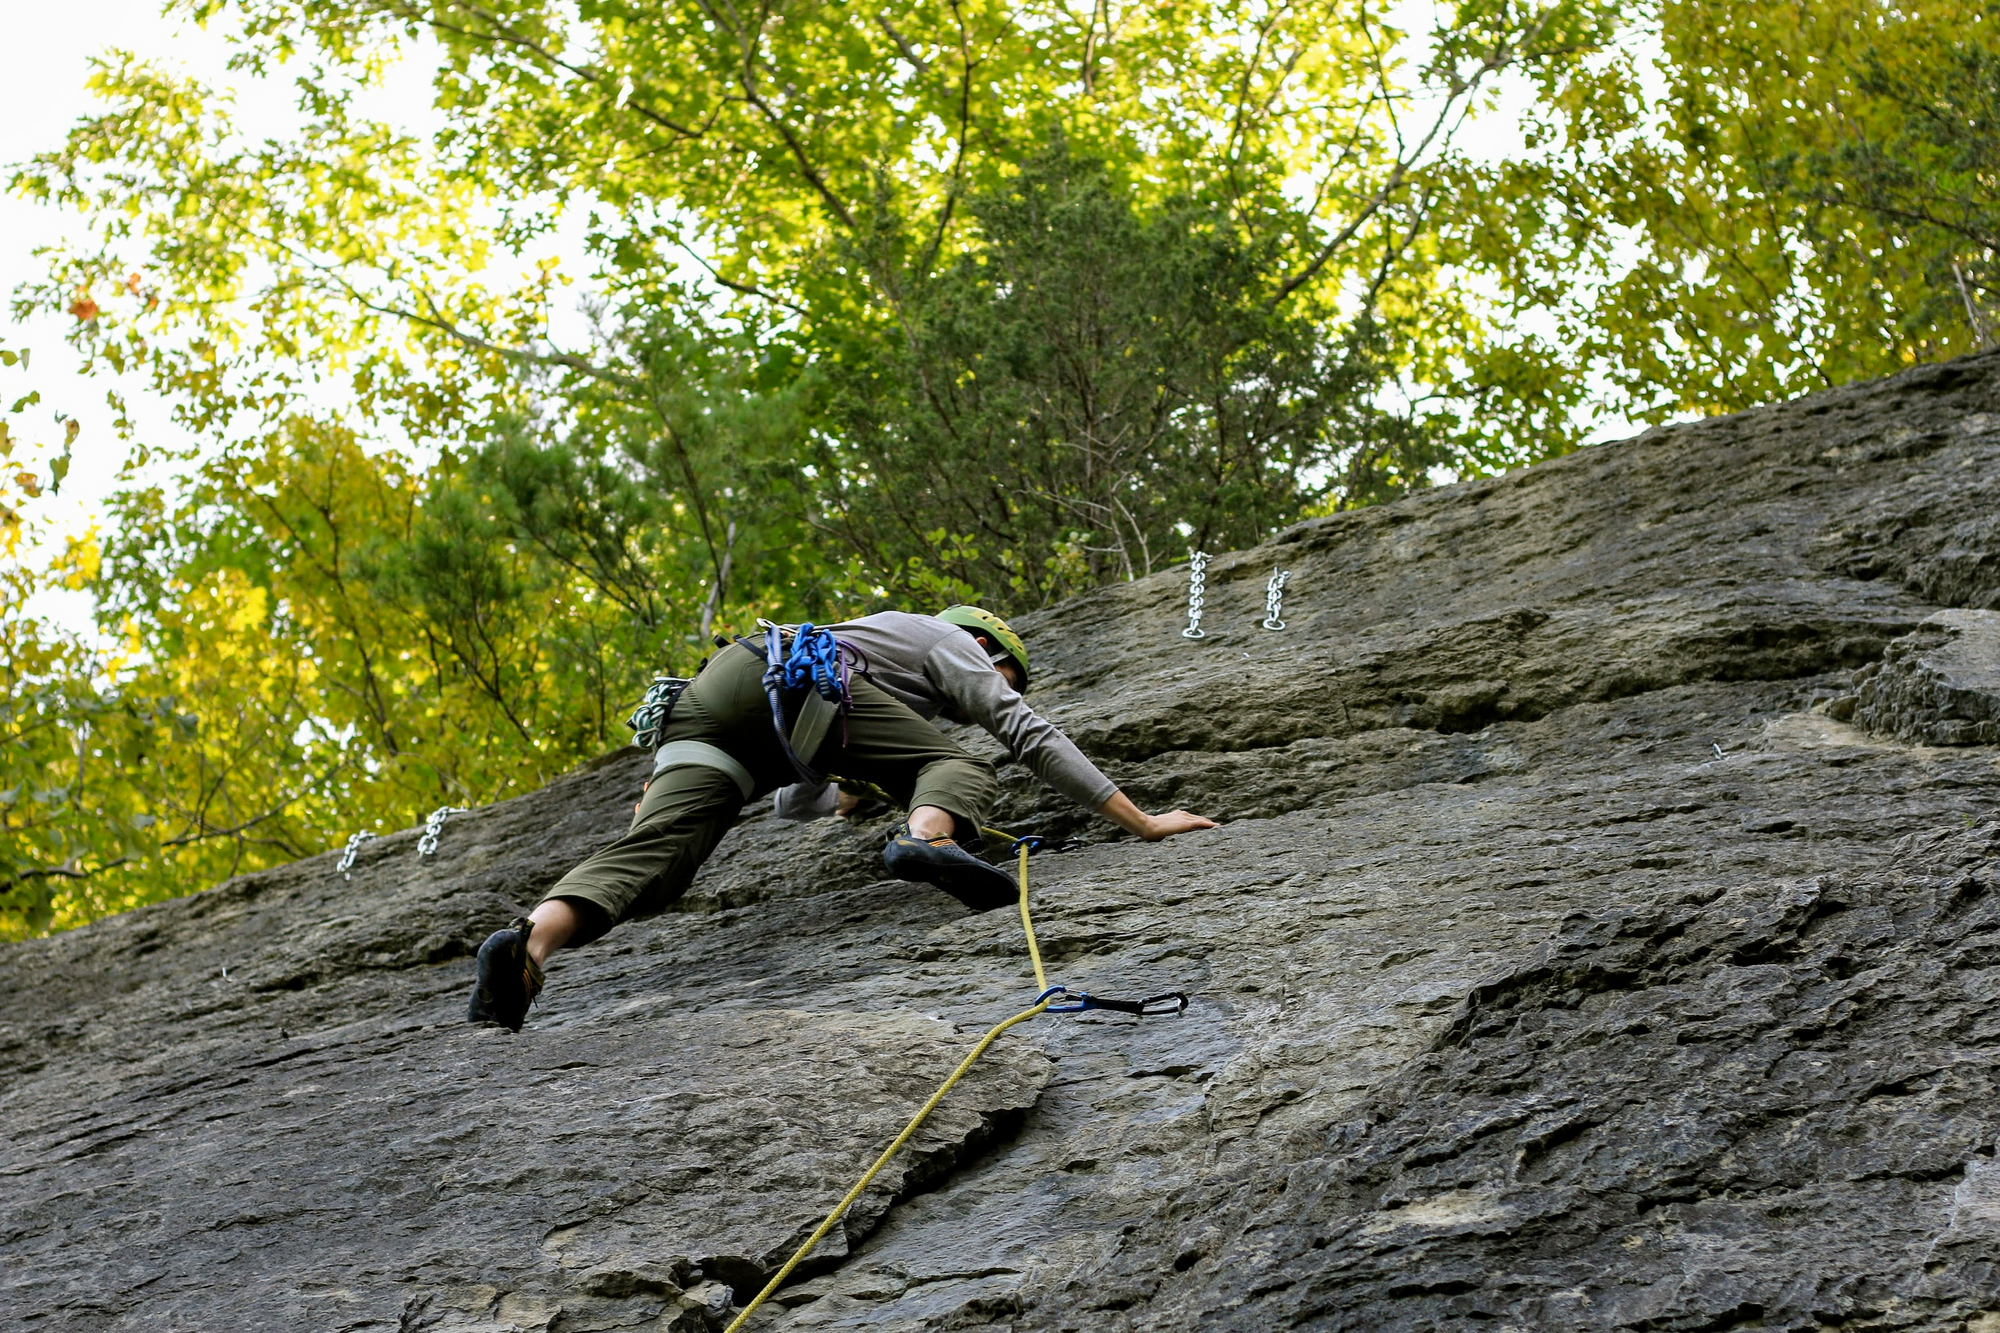
To attach the rope to sport climbing bolts, you use quickdraws, which are two carabiners attached together with a "dogbone", which is a loop of sewn webbing. Usually one of the carabiners is loosely attached in the top of the dogbone so that the two can pivot as your rope moves around, and the bottom carabiner is fixed in place more securely so that the carabiner and dogbone move together to make it easier to clip in one handed. The quickdraw should always be placed with that looser top carabiner clipped into the bolt, and the tighter bottom carabiner into the rope, since the bolt hanger is metal and can have sharp edges which dig into the carabiner and can create sharp marks in the carabiner, and as we already discussed above sharp objects and soft goods like ropes don't mix. Usually quickdraws are color coded to make identifing which end is which easier, and you should "rack" them on your harness with the top one up, so that when you undo it from your harness one-handed you can attach it to the bolt in one smooth motion.
To clip the quickdraw and rope into the rock you should take into account your clipping stance, clipping hand, and which way the route is heading. See this video from the AMGA guide Dale Remsberg:
This skill of clipping the rope into quickdraws one handed is harder than experienced climbers make it look. It's very important to practice lots at home before fumbling with a clip on the side of a cliff. In the "finger clip" as Dale calls it in the video, the rope is resting on the inside of his middle finger and the tip of his pointer finger, and he pinches the carabiner with his thumb on the spine of the carabiner and middle finger just below the gate to stabalize it, then slides the rope into the gate with the tip of his middle finger. For the "thumb clip" he pinches the rope this time with his thumb and pointer finger, then puts his middle finger in the basket of the carabiner to stabalize it, and flips the rope into the gate. One other thing to look out for when clipping quickdraws is "z-clipping" which can happen if bolts are placed very closely together, and is when the top quickdraw is clipped with the rope below the first quickdraw, creating a Z shape zig-zag in the rope. This isn't dangerous necessarily but it adds lots of rope drag which pulls you down later in the route.
Note that you significantly increase the potential fall distance if you pull up a lot of slack to clip - the higher the clip is above your waist the more slack you will need to clip. On short routes, close to the ground, or in gyms (because the walls are short), you should avoid clipping high unless you're in a very solid stance and you know the next moves won't be solid. I've seen multiple climbers almost hit the ground in the gym by pulling up too much slack and attempting to clip when they're pumped / scared. Remember that if you get tired and scared it's better to yell "falling" to your belayer and intentionally fall than try to clip way above your head. Clip from good holds!
Another consideration is when to use alpine draws to extend the position that the rope runs into to reduce rope drag. The disadvantages of alpine draws are that they are harder to clip because the bottom carabiner isn't secured into the sling like in a dogbone and dangles the length of the sling below the bolt, and that you would fall further on a alpine draw since it extends the clipping point downwards. The use-case for alpine draws is on especially long and wandering side-to-side routes where the rope drag would build up to be very tiring by the top of the climb.
In many cases the first bolt of sport climbs are pretty high off the ground, potentially to reduce visiblity of the bolts from non-climbers, because a lower bolt would be pointless since you'd take a ground fall if you fell from it, or because the rock quality is too bad. In these cases it's now standard practice to stick-clip the first bolt by litterally using a stick to clip the bolt before you start climbing. This has the advantage of limiting falls up to the first bolt since you're effectively on top rope up to the bolt, and if the climb is on a ledge after a scramble you attach the climber and belayer to the ledge by clipping the rope through the first bolt. In the case that the climber falls before clipping a bolt while the belayer is standing on a ledge, the climber could fall off the ledge and pull the belayer off or knock the belayer off, and they could both fall.
In addition to using a manufactured stick clip like demonstrated in the video, you can use a dead branch found from the forest ground to stick clip, by stabbing the end of the branch through the gap in a quickdraw's dogbone at the bolt-side carabiner, or by taping the spine of the carabiner to the end of the branch. The manufactured stick clips have advantages in that most of them can be used to unclip a quickdraw from a bolt or a rope from a quickdraw, or clip a rope into a pre-placed quickdraw. Most manufactured stick clips collapse down short and have a hole that can be clipped to your harness with a carabiner so that you can take the stick clip with you on a hard climb. The stick clip can then be used to clip the next bolt by using a quickdraw to go in "directly" from a bolt to your harness's belay loop, then using the slacked rope as normal in the stick clip to reach the next bolt.
Lead Belaying
Lead belaying is a suprisingly complex skill / art form. Your main job as a belayer is to make sure that the climber doesn't get hurt if and when they fall. This can happen either if the climber hits something like a ledge, a tree branch, or the ground on the way down. Or if you provide too "hard" of a catch the climber can hurt themselves especially their ankes when they swing into the rock wall. The more overhung the climb is the less of an issue this is, which is why some strong climbers are afraid of slabs, because even though the climbing is usually easier, the fall potential is worse. During a fall on sketchy gear such as poorly placed trad gear or ice screws, a hard belaying catch might cause the gear to be ripped from the wall.
So what does it mean to give a "soft" or "hard" catch when belaying? Well the study of physics (shoutout my high school physics teacher) tells us that anything including a falling climber generates a force equal to their mass times their acceleration/deceleration. The quicker the deceleration of the climber due to the belaying catch increases the forces on the climber, lead protection, and belayer. Therefore a soft catch is one in which the forces are spread across a longer duration. Many methods are used to achieve this in modern climbing, the main one is using a dynamic (a.k.a. stretchy) climbing rope. Consider a bungee jump, the force felt by the catch is very low even after a very long fall because the bungee is stretchy so it "catches" across a relatively long time of up to a couple seconds. However consider the inverse of being caught by a steel cable (or a dyneema sling), which wouldn't stretch much at all, the impact force would be much higher and would probably seriously hurt the faller's body. This means that the more rope there is in between the climber and belayer, the softer the catch will be, because there's more material to stretch. Note that climbing ropes publish dynamic and static elongation values, and are rated for a number of sucessive falls using a solid load of 80kg (176lbs). It's important to know what climbing gear is stretchy and what isn't. You should treat the rope as stretchy and everything else as not stretchy. Some people will say that nylon slings are more stretchy than dyneema slings, which is technically true, but not relevant because you shouldn't put yourself in a situation where you take a lead fall on either of them, since neither are stretchy enough. Getting off that tangent, other factors that influence how soft a catch is are: the rope slipping a bit in the belay device, friction / rope drag, and the belayer being pulled upward.
The downside of soft catches is that they cause the climber to fall further, which scares new lead climbers and belayers, but is usually safer unless the climber hits something on the way down. So a big part of lead belaying is managing the "softness" and length of anticipated falls (they are sort of inverses!). As a lead belayer you should be prepared to catch a fall at any time. When lead belaying you shouldn't be looking at the view or chatting with others, focus on your climber! Remember that your climber is in the most danger when they're near something to fall onto such as the ground or a ledge.
The way that you can manage the fall distance and softness of the catch as a lead belayer is by changing how much slack you give. In a situation where the lead climber is not very far above their last bolt, and there's little slack out, the climber will be caught very quickly, won't fall very far, but will probably slam into the rock. In the opposite scenario, if there's too much slack out, the climber will free-fall before the catch starts, vastly increasing the fall distance, potentially causing a ground fall.
A common mistake is to stand far away from the wall. I'm not sure why this is popular, perhaps because it makes it easier to see what the climber is doing, or because people are taught to step towards and away from the wall to give and take slack. The problem with standing away from the wall is that when the leader falls, the belayer gets pulled towards the first bolt, which is on the wall. In some cases the belayer gets pulled into the wall very hard and gets hurt. Another problem is that there's a lot of slack generated when the belayer gets pulled from far away towards the wall. It's best to belay from right underneath the first bolt so that the belayer gets pulled upwards and can focus on the catch instead of on protecting themselves from a faceplant into the wall.
A big consideration is the weight difference between climber and belayer. A lighter belayer with a heavier climber will be pulled upwards, while a heavier belayer may not be pulled off the ground when a lighter climber falls. A heavier belayer should jump slightly when the lighter climber falls in order to provide a softer belay, only if there's no danger of the climber hitting something. A lighter belayer can run backwards / squat / brace in order to prevent being pulled upwards a lot, especially if there's danger of a ground fall. In gyms, on short routes, or when the belayer is much lighter than the climber, it's reccomended to use an Edelrid Ohm which is clipped to the first bolt instead of a quickdraw and adds friction during a fall.
There are many different belay devices, the most common, but in my opinion a commonly misused belay device is the Petzl GriGri. See the below AMGA video on how to lead belay with a GriGri, which I reccomend for general information even if you don't use a GriGri, since you'll definitely see one that another belayer is using.
The issues with a GriGri are that it's commonly misused by the belayer letting go of the brake hand, or panicking while lowering and holding onto the lever, and that it's right handed (and I'm left handed). Lead belaying with a GriGri is a very different technique than top-rope belaying, so it's harder to learn how to use. My current preferred assisted-braking belay device for sport climbing is the Wild Country Revo, since it's ambidexterous, and is very intuitive to use since it's similar to a non-assisted tube style belay device which I learned to belay with.
See Hard Is Easy's Belay Course https://youtu.be/hEK2NCoET4E, and his many videos on the ways the GriGri is misused: https://youtu.be/-YkpZ-_e4mk, https://youtu.be/VmZE55W5SHo, https://youtu.be/jKe72j_mBlU.
As always with belaying, remember to keep your brake hand on the rope and down at your hip!
Cleaning a Sport Climb
Now that you and each member of your climbing party have climbed the route and lowered back down, you want to get the gear that you used to sport climb and/or build the anchor back. This only works if there is "fixed hardware" such as the aforementioned chains, rappel rings, pig tails, mussy hooks, etc. There are many such setups of fixed hardware, but they all work similarly, where you put your rope through somethings that are attached to at least two bolts. The best ones will be made of stainless steel to prevent rust. See this AMGA video on cleaning:
The two main points are:
- Stay on belay the whole time. If you mess up and come undone from the anchor, or the anchor fails, you can still be caught by the last bolt if it's still clipped.
- Don't drop the rope. If you're doing #1 correctly, this won't happen. Obviously it's really bad to be stuck at an anchor on a cliff without a rope to get down.
A tip that the video didn't mention is that if you unhook the bolt first instead of the rope first you can't drop the quickdraw on your belayer since it's still attached to the rope. To do so you might have to push the rope towards the wall to unweight it, and this will be more difficult the more overhanging the route is. If it's time consuming to unclip, you can tell your belayer to "stop" when you get to a quickdraw, and tell them to "lower" when you're done.
Now that you're done climbing and cleaning the route you should untie the knot from the cleaner's side of the rope and pull that end through the lower-off anchor. If you don't untie the knot you could pull the knot out of reach before realizing, making it very hard to get your rope back.
You can now put the rope back into a rope bag (I like ones with integrated tarps so that the rope stays clean), or coil the rope.
Rescue & Next Steps
Admititly rescue techniques are the area that I am less confident in. Obviously a prevention is better than a cure, so remember to wear helmets and use belay devices with assisted-braking modes. Since this post is about single pitch sport climbing, the rescue scenario is much simpler. If the climber gets hurt, simply lower them to the ground. In some long routes if they are unconcious you may end up lowering them to a ledge, which they won't be able to pass if they're unconcious. In this case you'll have to ascend the rope. If the belayer gets knocked unconcious, hopefully they're using an assisted-braking belay device that will catch the climber in case they fall, but the climber can downclimb, rappel, or call for help from a neighboring climbing party, 911, or sattelite SOS device.
There's a lot more to learn about rock climbing before doing mutli-pitch or traditional climbing, and even more when snow, ice, and scrambling get involved. But this is enough for now!